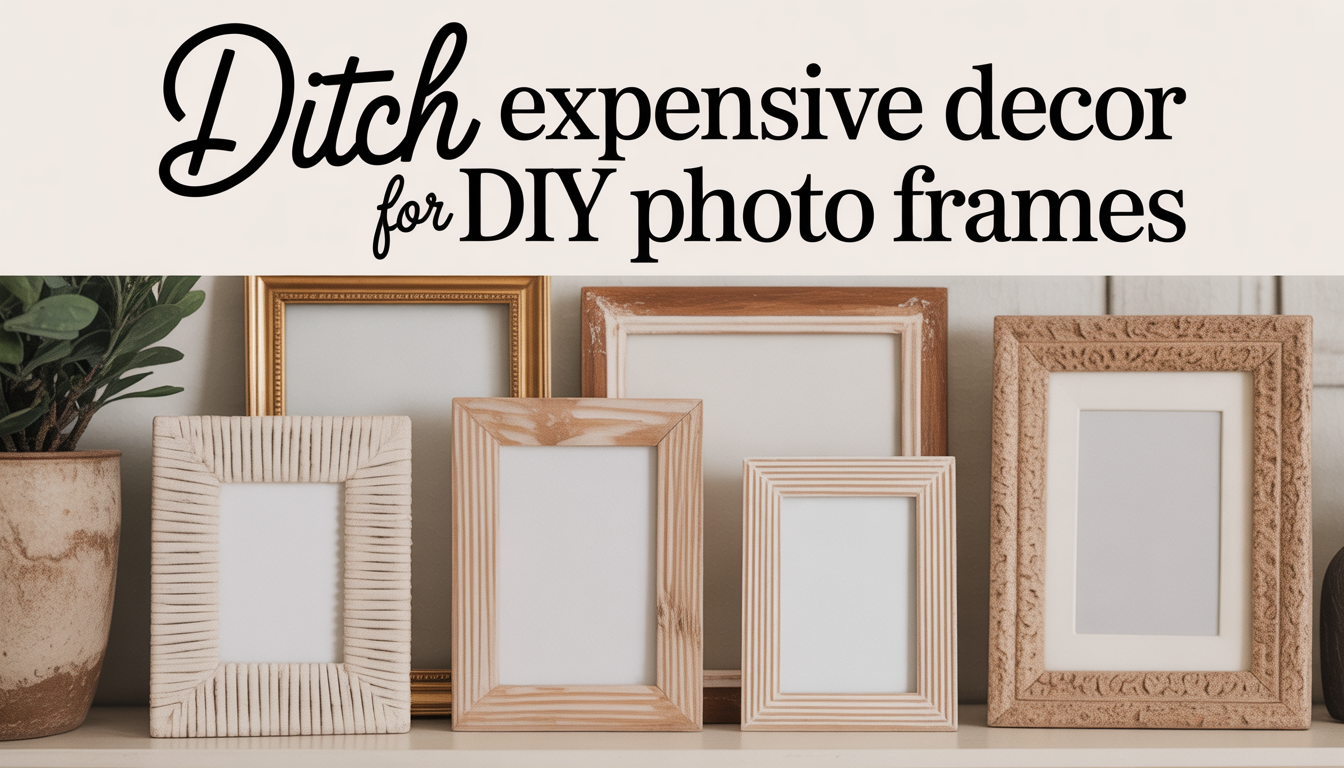
I used to stare at my empty walls and feel like something was missing. I wanted a “gallery wall” like the ones I saw in fancy magazines, but when I went to the store, one single frame cost $40. I had twenty photos I wanted to hang, and I realized I didn’t have $800 just for wood and glass. I decided right then to stop buying and start making. Here is how I turned my boring walls into a home filled with memories for almost zero dollars.
The Day I Got “Frame Shock”:
I remember walking into a home decor shop downtown. The air smelled like expensive candles, and everything looked perfect. I saw a beautiful gold frame with a wide white border around a simple photo of a leaf. It looked amazing. Then I turned it over.
“Forty dollars?” I whispered to myself. I looked at the frame closely. It was just plastic painted to look like metal. It felt light and cheap. I realized that the “luxury” I was seeing was mostly an illusion. I went home, looked at a pile of old Amazon boxes in my garage, and thought, “I bet I can make something that looks better than that.”
That was the start of my DIY photo frame journey. Since then, I haven’t bought a single frame from a store. My house is now full of custom art, and my bank account is much happier.
Why Making Your Own Frames is Better:
Before we get into the “how,” let’s talk about the “why.”
- It’s Truly Unique: No one else will have the same frame as you. You can match the color exactly to your couch or your curtains.
- It’s a Great Way to Recycle: I use cardboard, old magazines, and even sticks from my yard. It keeps trash out of the landfill.
- It’s Therapeutic: Tearing paper, painting, and gluing is very relaxing. It’s like being a kid again in art class.
- The Savings are Huge: You can make ten frames for the price of one fancy latte.
1. The “Cardboard Classic” Frame:
This is the easiest place to start. If you have a cereal box or a shipping box, you have a frame.
My Experience:
I wanted a frame for a drawing my niece made for me. I didn’t want anything heavy. I took a thick piece of cardboard from a shipping box and cut out a rectangle. Then, I cut a smaller rectangle inside it.
I was worried it would look like a school project. But then, I used a trick: Texture. I glued old pieces of twine around the edges and painted the whole thing a deep, matte black. When it dried, it looked like expensive wrought iron.
How to Make It
- Step 1: Measure your photo.
- Step 2: Cut your cardboard “window” so it is a tiny bit smaller than the photo. This keeps the photo from falling through.
- Step 3: Decorate! You can use paint, glitter, or even wrap it in fabric from an old shirt.
- Step 4: Tape the photo to the back and add a little loop of string to hang it up.
2. The Thrift Store “Flip”:
This is my favorite way to get “fancy” frames for almost no money.
My Experience:
I go to the local thrift store once a month. I look for the “ugly” section. You know the one, frames with weird 1970s colors or scratched-up wood. People walk past them because they look old. I see them as a blank canvas.
I found a giant, heavy wooden frame for $2. It had a picture of a sad clown in it. I took the clown out, sanded the wood, and painted it a bright “Tiffany blue.” Now, it holds a beautiful photo of the beach, and it looks like a million bucks.
The Thrift Store Checklist:
- Check the corners: Make sure the frame isn’t falling apart.
- Check for glass: Getting new glass cut is expensive. Try to find frames that still have the glass inside.
- Ignore the color: You can change the color in ten minutes with a can of spray paint.
- Ignore the art: You are buying the frame, not the picture inside!
3. The “Nature Frame” (Twigs and Sticks):
If you like the “rustic” or “cabin” look, this is for you.
My Experience:
I went for a walk after a big storm. There were tiny branches everywhere. I gathered a handful of straight ones that were about the same thickness.
I took a plain piece of cardboard as my base. I glued the sticks along the edges, overlapping them at the corners like a little log cabin. It looked okay, but then I added some dried moss I found at the craft store. Suddenly, it looked like something you would buy at a mountain resort.
Why This Works:
Nature is never perfect. The little bumps in the wood and the different shades of brown make the frame feel “warm.” It’s perfect for photos of family trips or hiking adventures.
4. The “Washi Tape” Gallery (The Renter’s Dream):
I used to live in an apartment where I wasn’t allowed to put nails in the walls. I felt like I couldn’t decorate at all. Then I discovered “Washi Tape.”
My Experience:
Washi tape is colorful paper tape that doesn’t ruin paint. Instead of making a physical frame, I taped my photos directly to the wall. Then, I used the tape to “draw” a frame around them.
I made some frames look like modern squares. I made others look like triangles. It turned my wall into a giant piece of art. When it was time to move out, I just peeled the tape off. No holes, no damage, and I got my full deposit back!
5. The “Popsicle Stick” Upgrade:
Don’t laugh! Popsicle sticks aren’t just for kids. If you glue them together correctly, they look like high-end “slat” wood.
My Experience:
I bought a big bag of 100 sticks for $3. I laid them out horizontally and glued them to two “runner” sticks on the back. I stained the wood with some leftover coffee (yes, coffee makes a great wood stain!).
The result was a beautiful, dark-wood frame that looked very modern. I used a small clothespin to clip the photo to the front. This makes it really easy to swap out photos whenever I want.
The Cost Comparison: Store vs. DIY:
I love looking at how much I’ve saved. It’s like a game! Here is a breakdown of what a typical gallery wall costs.
| Item | Big Box Store Price | My DIY Price |
| 5 Medium Frames | $100.00 | $10.00 (Thrifted/Cardboard) |
| 3 Large Frames | $120.00 | $6.00 (Found wood/Upcycled) |
| Hanging Supplies | $15.00 | $2.00 (String/Tape) |
| Matting (White border) | $30.00 | Free (Old white paper) |
| TOTAL | $265.00 | $20.00 |
Total Saved: $245.00. That is enough money to buy a whole new set of bedding or a nice dinner for the family.
My “Top Secret” Decorating Tips:
After making over 50 frames, I have learned a few tricks that make them look “pro” instead of “homemade.”
1. The “Matting” Trick:
The secret to an expensive-looking photo is the white space around it. This is called a “mat.” Instead of buying expensive precut mats, I use thick white cardstock. I cut a hole in the middle that is a bit larger than the photo. This tiny white border makes any photo look like it’s in an art museum.
2. The “Gallery Wall” Layout:
Don’t just start hammering nails! I take pieces of scrap paper and cut them to the same size as my frames. I tape the paper to the wall first. This lets me move them around until I like the pattern. Once I love the layout, I put the nail right through the paper, then rip the paper away. It works perfectly every time.
3. Consistency is Key:
If you have a bunch of different types of frames, paint them all the same color. If you have a cardboard frame, a wood frame, and a plastic frame, but they are all painted “Creamy White,” they will look like a matching set. This is the easiest way to make a messy wall look organized.
4. Use “Dry Brushing”:
If you want something to look old and vintage, use “dry brushing.” You put a tiny bit of paint on your brush, wipe most of it off on a paper towel, and then lightly “tickle” the frame. It highlights all the bumps and makes it look like an antique.
6. The Magazine “Mosaic” Frame:
If you have a pile of old magazines, you have a colorful frame waiting to happen.
My Experience:
I found a magazine with a lot of bright blue and green pages. I tore the pages into tiny squares. I took a plain cardboard frame and glued the squares all over it, overlapping them.
It looked like a beautiful tile mosaic. I put a photo of my garden inside, and the colors matched perfectly. It’s a bit messy to make, but it’s very fun.
7. The “Fabric Wrap” Frame:
This is the best way to use up old clothes that are too worn out to donate.
My Experience:
I had an old flannel shirt that was soft and had a great red pattern. I cut it into strips and wrapped it around a simple cardboard frame. I used a little bit of hot glue to keep the ends in place.
It made the room feel so cozy! I use this for winter photos or pictures of us drinking hot cocoa. It adds a “soft” feeling to the wall that you can’t get with wood or metal.
8. The “Box Lid” Shadow Box:
Sometimes, a flat photo isn’t enough. You want to show off a shell from the beach or a medal from a race.
My Experience:
I used the lid of a sturdy gift box. I painted the inside of the lid a soft grey. I glued my photo to the back and then glued my “memory” (like a small sea glass piece) next to it.
Because the lid has “walls,” it protects the object and gives it depth. It’s a “shadow box” that would cost $30 at the store, but mine was free with a box I was going to throw away.
9. The “Clipboard” Gallery:
If you are a person who changes their mind a lot, this is for you.
My Experience:
I found a pack of six mini clipboards at a dollar store. I painted the boards black and the clips gold. I hung them in a straight line in my hallway.
Now, I don’t even need “frames.” I just clipped my latest photos to the boards. When I take a new photo, I just swap it out. It takes two seconds. It’s perfect for kids’ school photos or “Photo of the Month” projects.
10. The “Decoupage” Map Frame:
I love to travel. I wanted a way to remember my trip to the mountains.
My Experience:
I took an old paper map that I didn’t need anymore. I cut it into pieces and used “Mod Podge” (which is just a mix of glue and water) to stick the map pieces to a frame.
I made sure the name of the town we visited was right at the top of the frame. It’s a “storytelling” frame. When people look at it, they see the photo and the map at the same time. It’s a great conversation starter!
5 Common Mistakes to Avoid:
- Using Dull Scissors: Cardboard can be tough. If your scissors are dull, you will get “fuzzy” edges that look messy. Use a sharp craft knife if you can.
- Using Too Much Glue: If you use too much white glue, the cardboard will get soggy and bend. Use a “thin” layer or use a glue stick for the paper parts.
- Forgetting the Back: Make sure the back of your frame is sturdy. If the back is weak, the photo will sag and look sad. Use an extra piece of cardboard for support.
- Hanging it Crooked: I use a “level” app on my phone to make sure my frames are straight. Even a beautiful frame looks bad if it’s leaning to the side.
- Not Cleaning the Glass: If you are using a thrifted frame, clean the glass with vinegar and water before you put your photo in. Fingerprints on the inside are the worst!
Why “Handmade” is the New “Luxury”:
In 2026, everyone can buy the same things from the same big websites. Everything starts to look the same. Our houses start to look like hotel rooms.
When you make your own frames, you are putting your “human” touch on your home. You are telling a story. You are saying, “This photo was important enough for me to spend time making a home for it.”
That feeling of looking at a wall you built yourself is better than any feeling you get from buying something. Every time I walk down my hallway, I smile. I don’t see “stuff.” I see my life, my family, and my own creativity.
How to Get Started This Weekend:
You don’t need to be an artist to do this. You just need to be curious. Here is my 3-step plan for your first DIY frame weekend:
- The Hunt: Go through your house and find three things you can turn into a frame. A box, an old magazine, or a piece of wood.
- The Print: Go to the store or use your home printer to print three of your favorite photos. Don’t leave them on your phone!
- The Craft: Spend one hour on Saturday afternoon putting them together. Don’t worry about being perfect. Just have fun.
Bottom Line:
Decorating your home doesn’t have to be a “rich person” activity. It is for all of us. By ditching the expensive store-bought decor and making your own, you are reclaiming your space and your budget.
Your walls are waiting for you. Go find a box, grab some glue, and start telling your story.
FAQs:
1. Is cardboard strong enough to last?
Yes! As long as you don’t hang it in a very damp place (like a small bathroom with no fan), cardboard will last for many years. I have some that are five years old and still look perfect.
2. What if I don’t have a “craft” space?
I do all my work on my kitchen table. I just put down a big piece of newspaper or an old tablecloth first, so I don’t get paint on the wood. When I’m done, I put everything in a small plastic bin.
3. How do I make a “pro” hanging loop?
I use a piece of a soda can “tab.” I glue it to the back of the frame with strong glue. It is the perfect shape for a nail to hook into!
4. Can I make frames for heavy art?
If the art is heavy (like a canvas), you should probably stick to wood. Cardboard is best for photos and paper drawings.
5. What is the best paint to use?
I love “Acrylic Craft Paint.” It is very cheap ($1 per bottle), it dries in minutes, and it comes in every color you can imagine.
6. What if I mess up?
That’s the beauty of DIY! If you hate the color, paint over it. If the cardboard rips, get another box. You aren’t losing any money, so there is no reason to be stressed.
About the Author
